
ITH-602 WX
SKU:
PHP 8,500.00
PHP 8,500.00
per item
SHORT DESCRIPTION
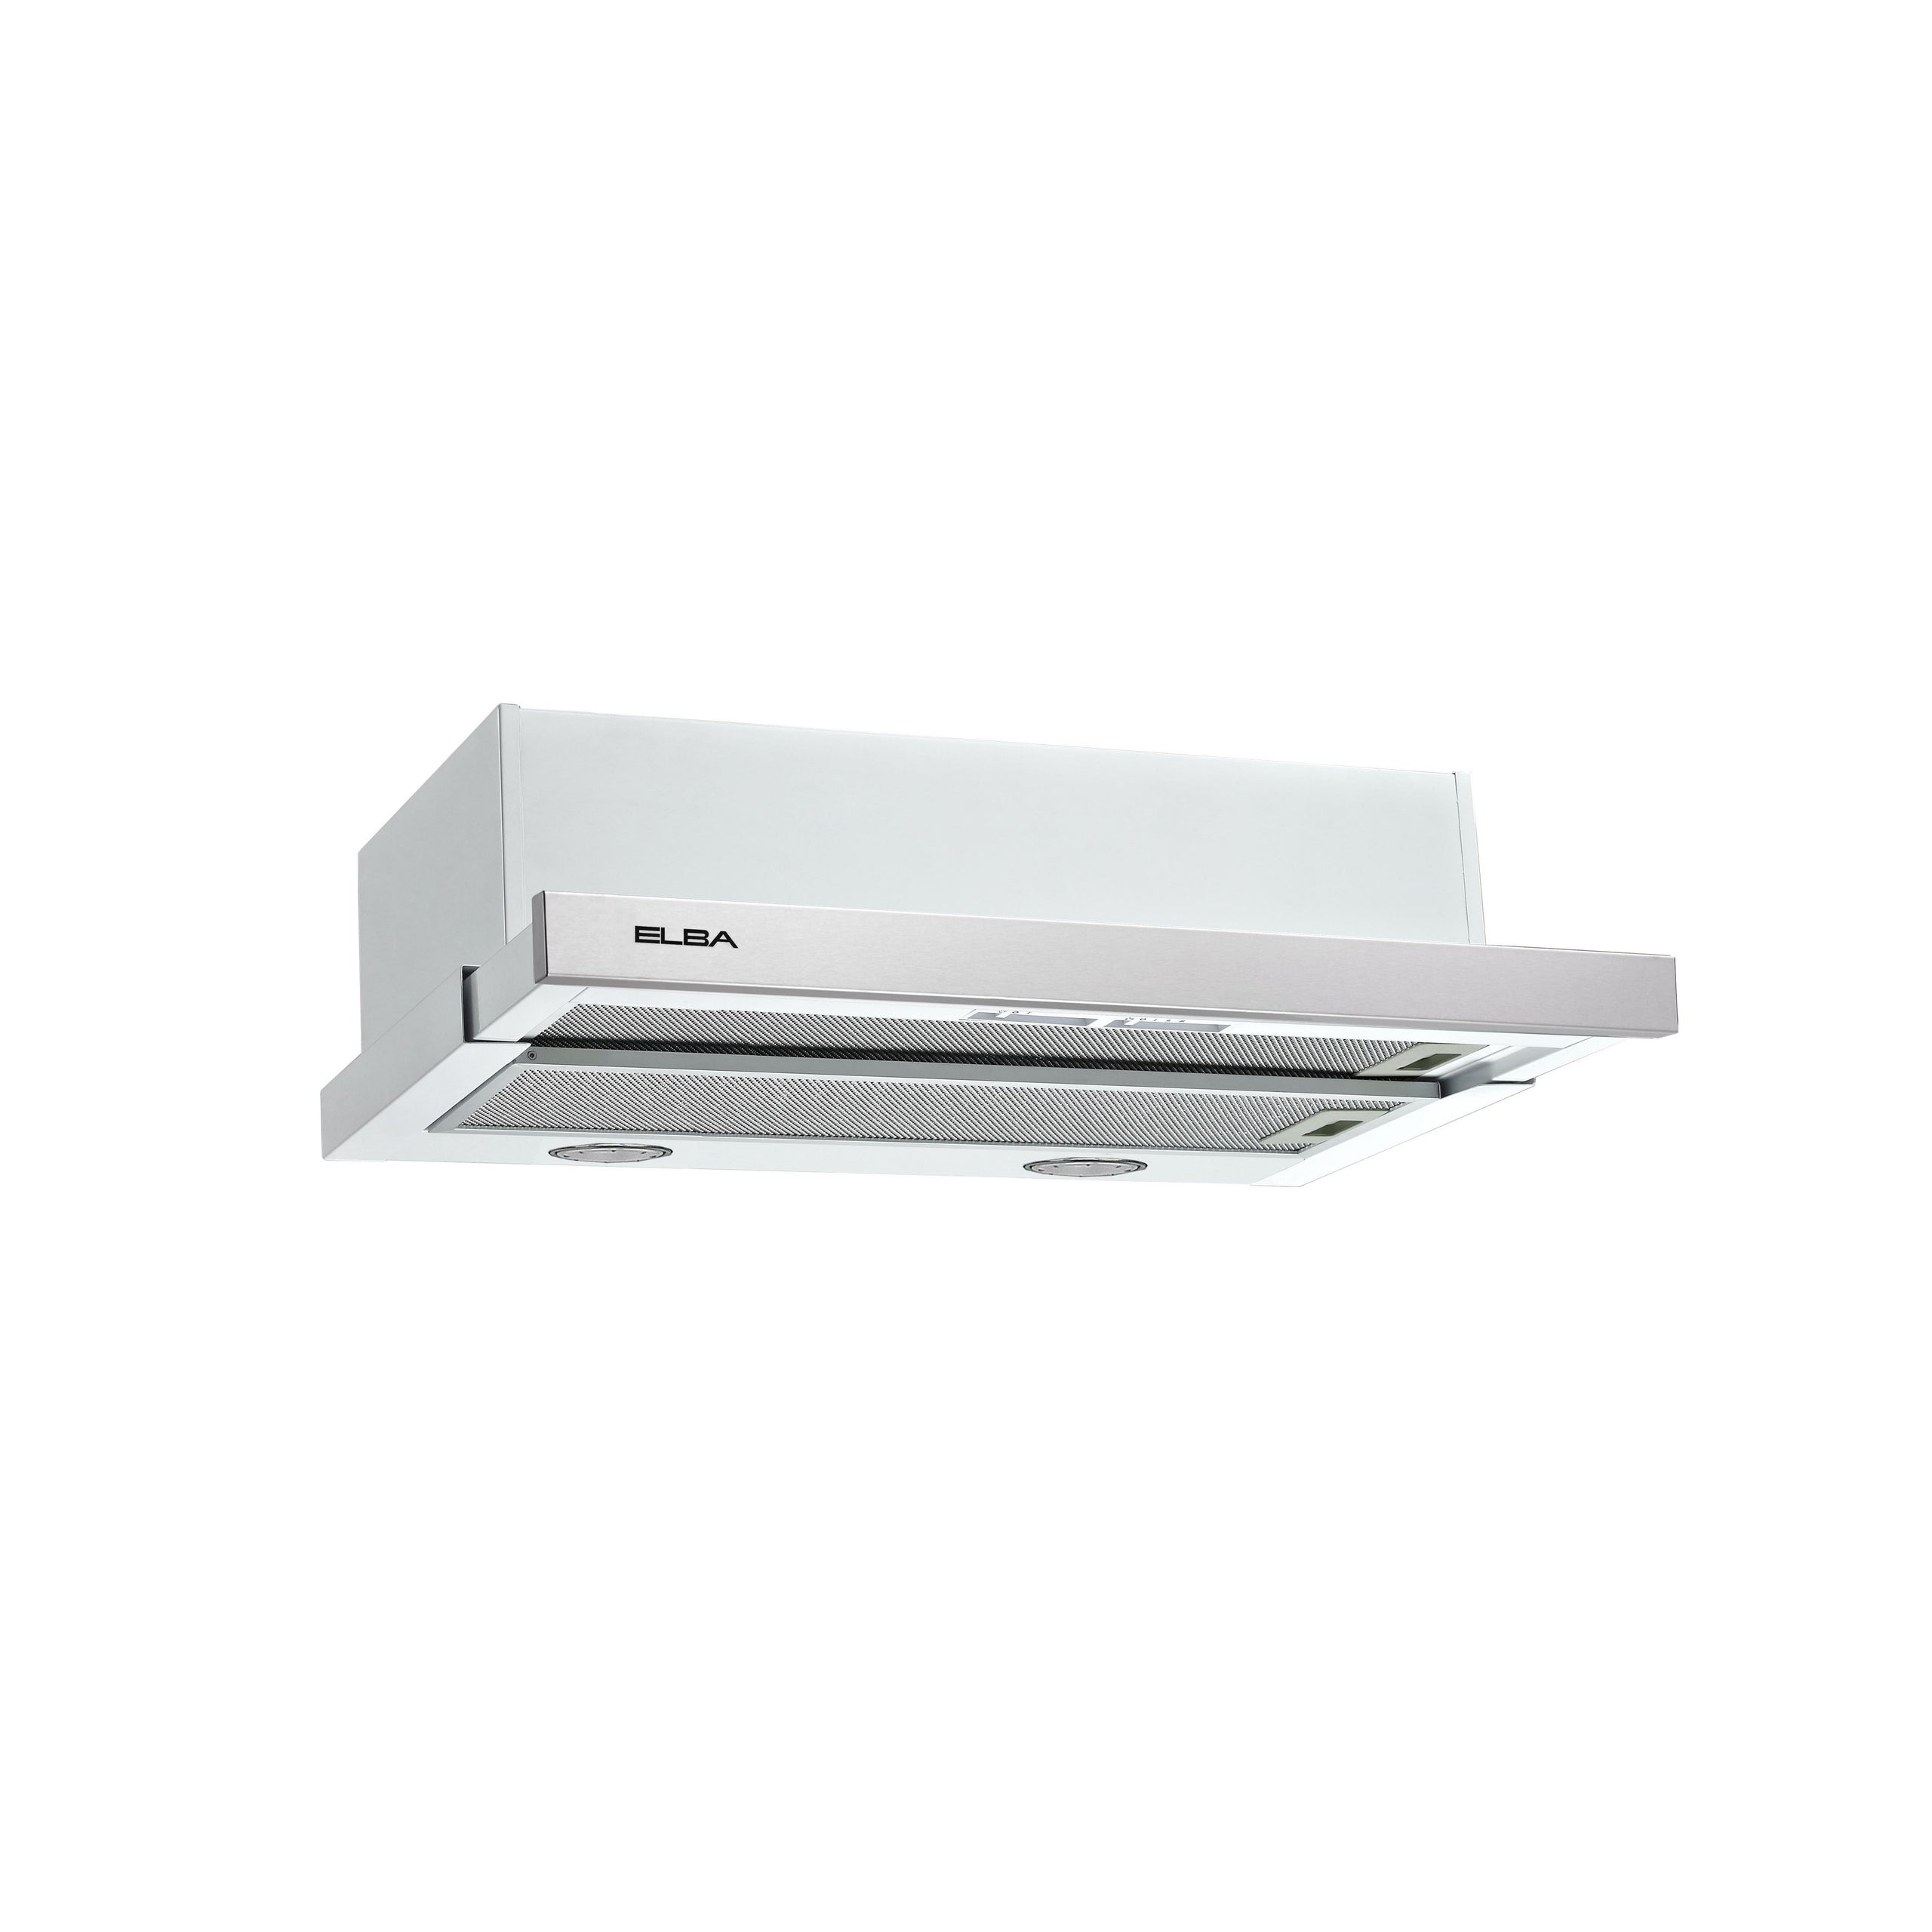
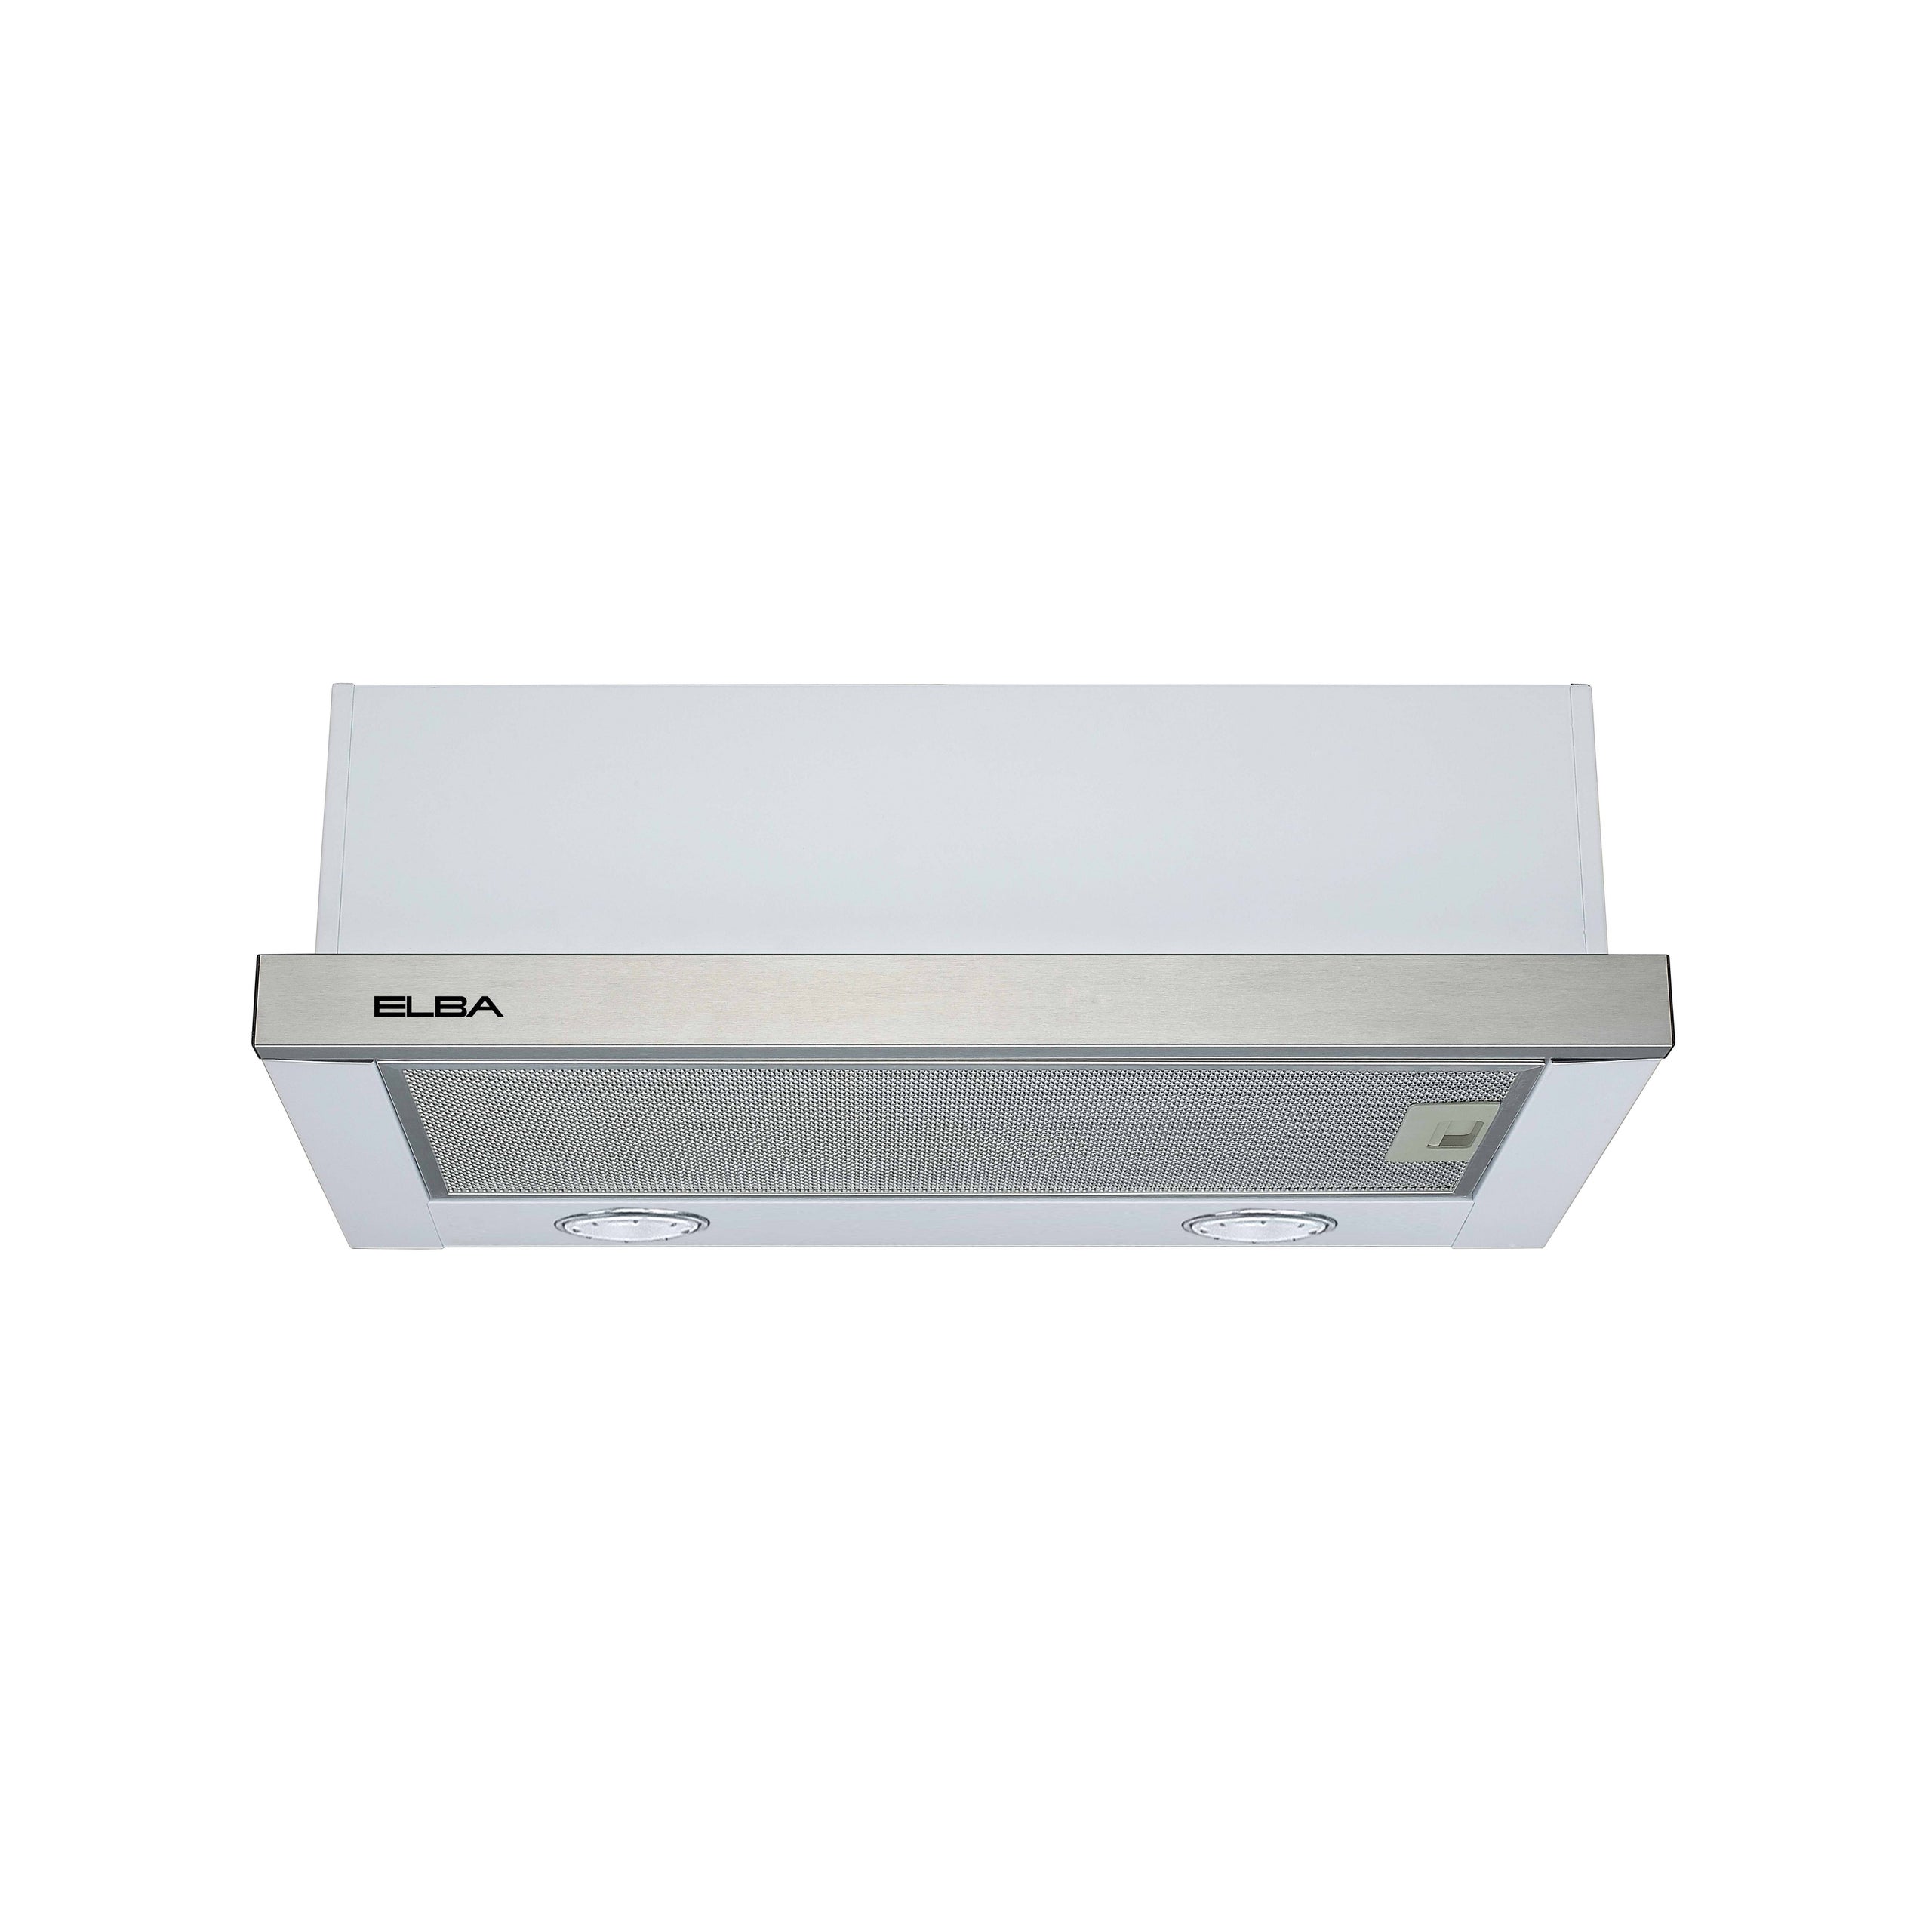
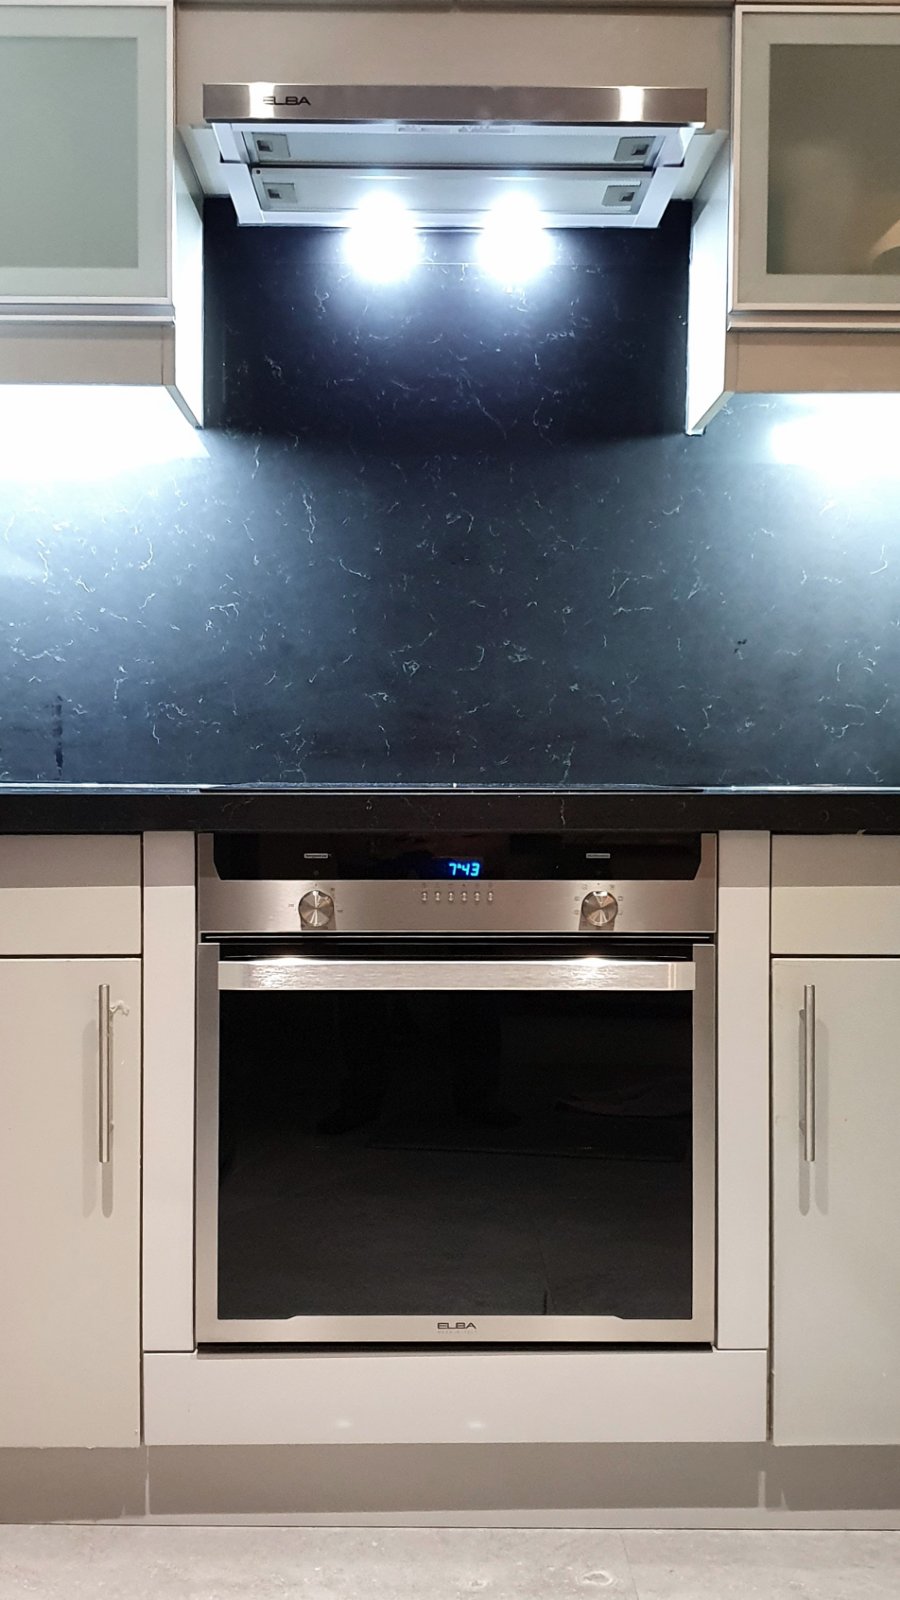
60cm Telescopic / Semi Built-In Hood
Stainless Steel Fascia with White Underbody
Installation: Ducting Method Only
PRODUCT DETAILS
60cm Telescopic / Semi Built-In Hood
Stainless Steel Fascia with White Underbody
Motor: 270W max double motor
Suction Power: 440CMH max
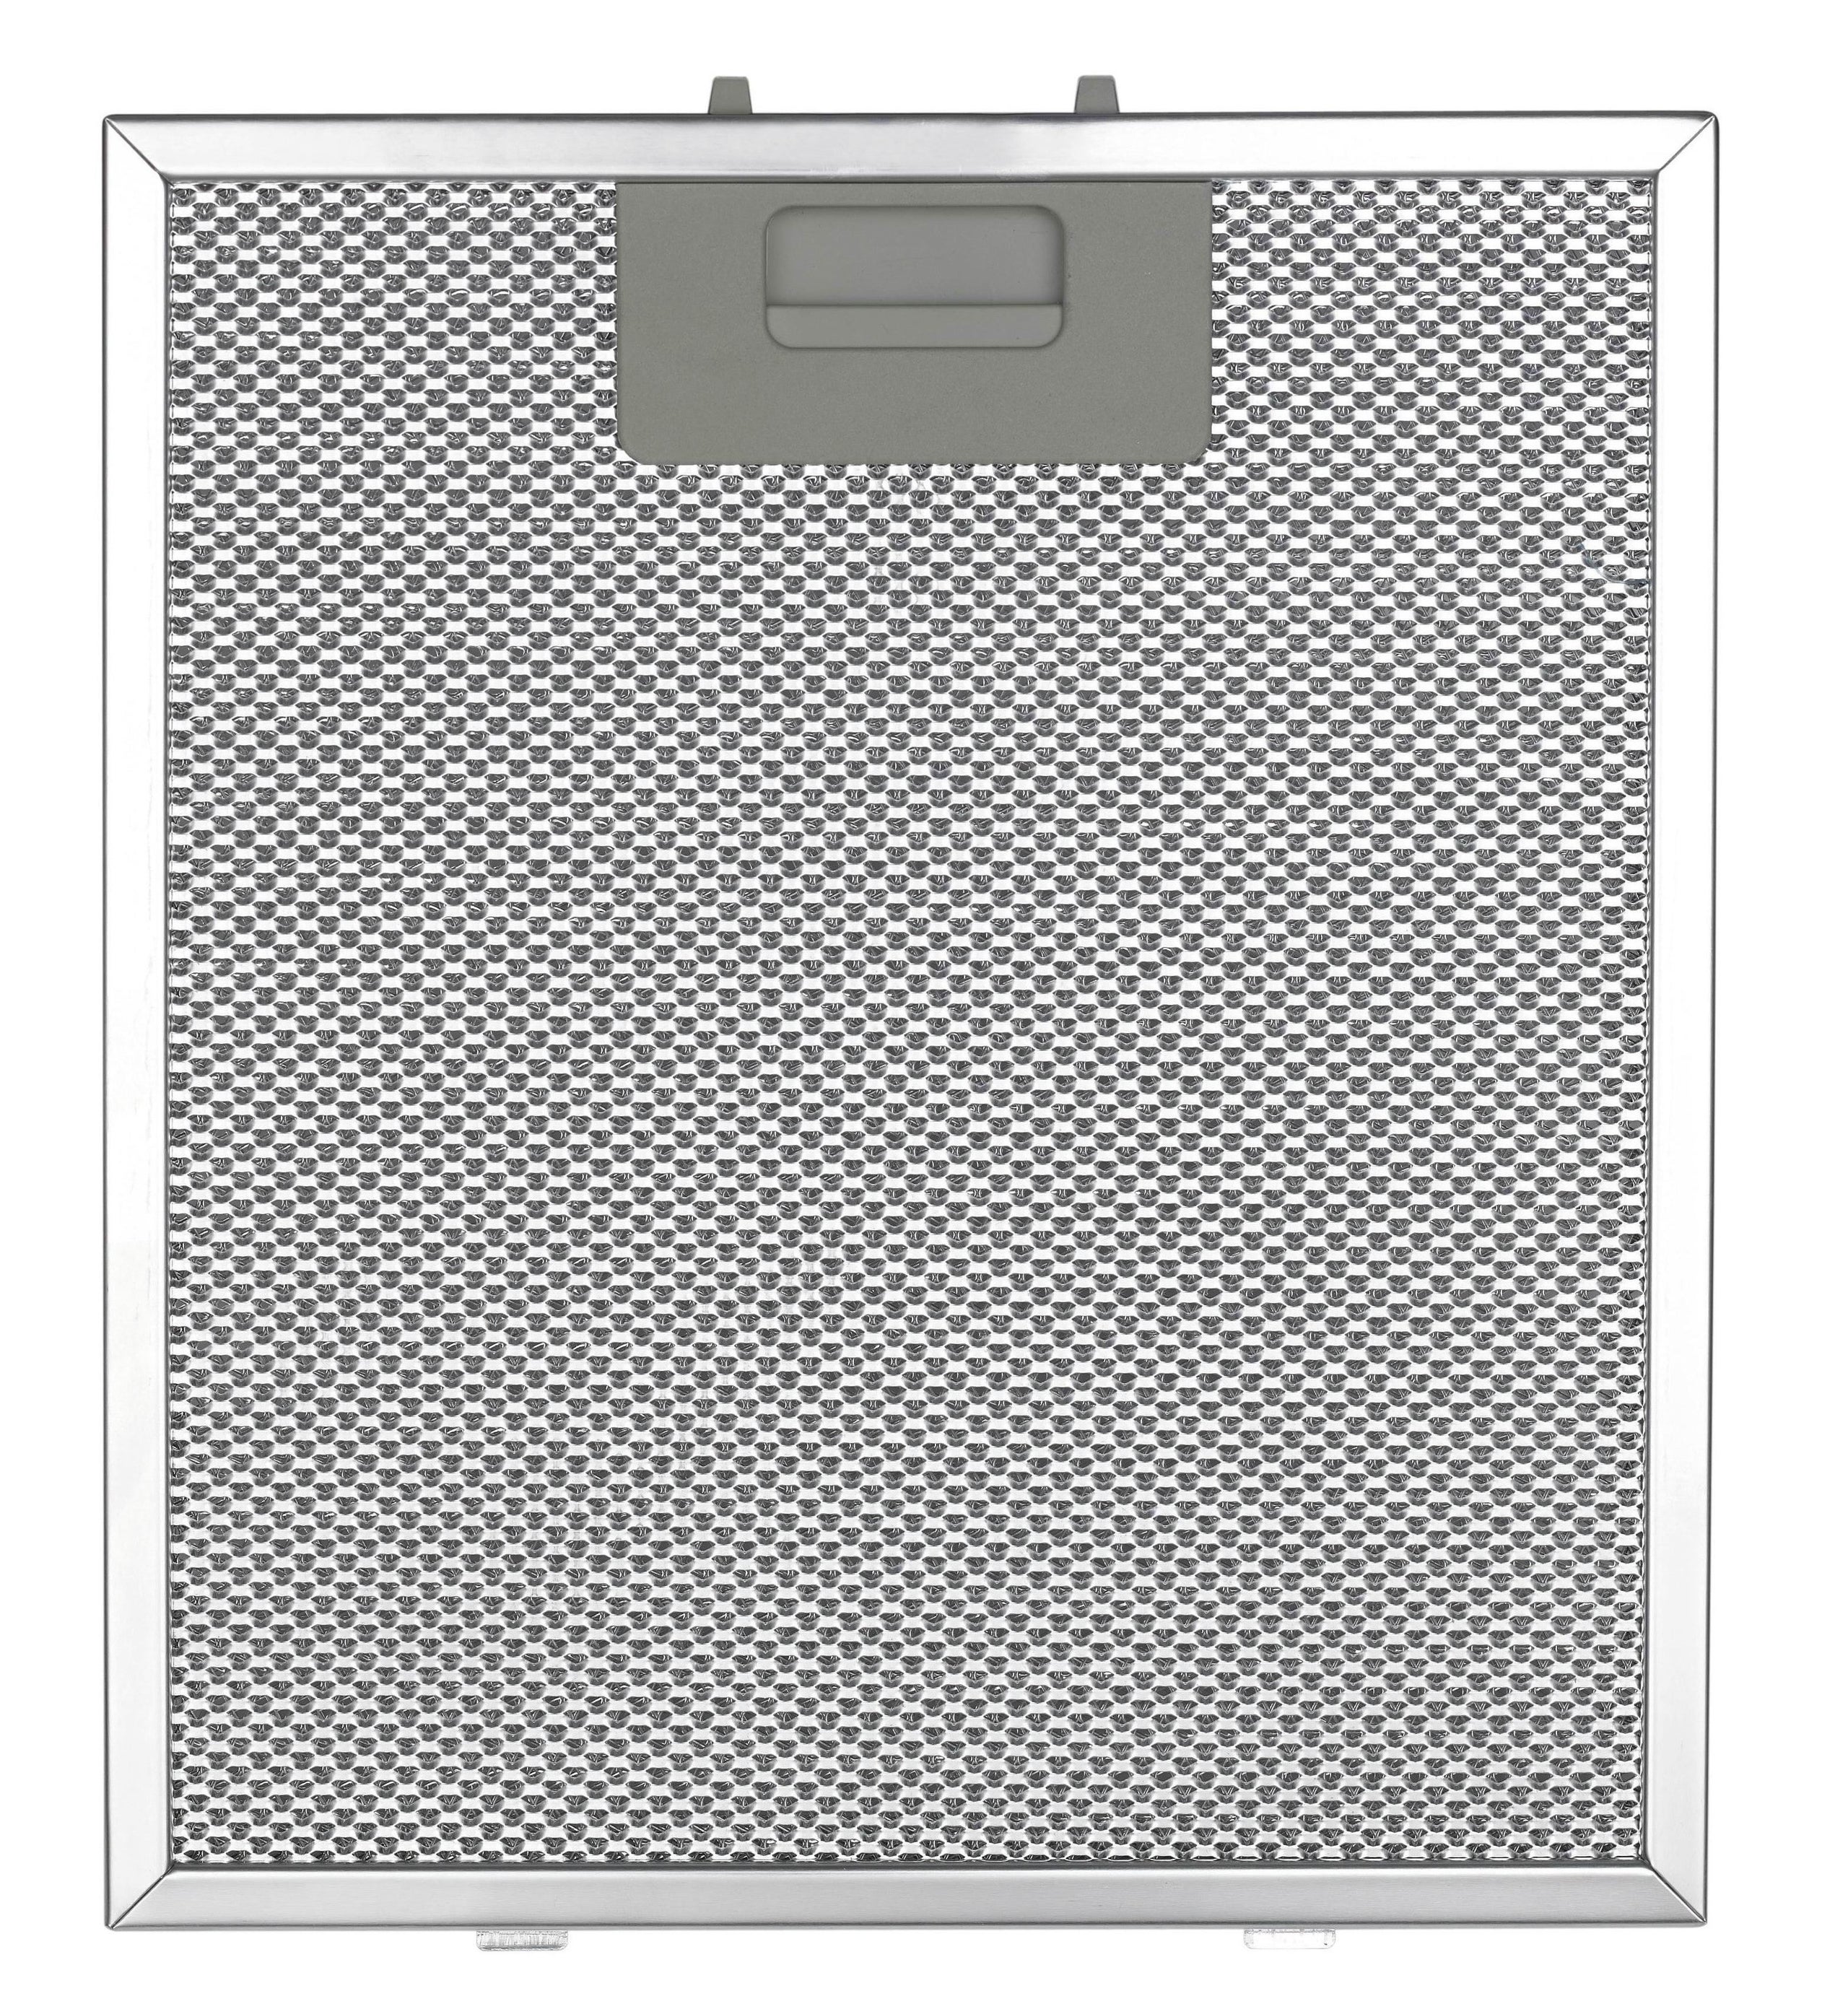
Filters: 5 Layer Aluminum Filters (traps oil and grease)
Controls: Concealed Slider Switch Controls
Lights: 2x3W Extra Bright LED Lights
TECHNICAL SPECS
Power: 220-240V, 60Hz, 1.2A
Plug Type: Type A (2 flat pins)
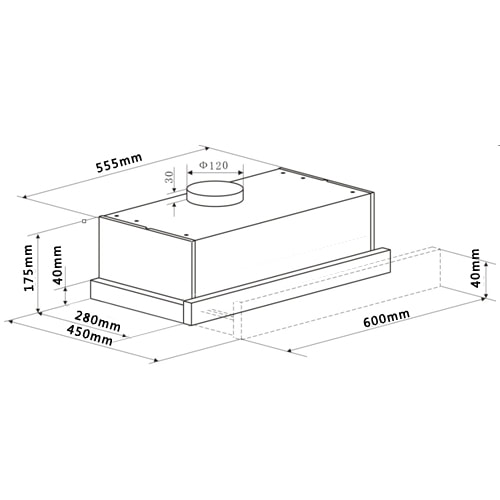
Unit Dimensions (WxDxH): 60 x 28-45 x 17.5cm
Unit Weight: 9.0Kg
Packaging Dimensions (WxDxH): 66.5 x 35.5 x 22.5cm
Packaging Weight: 10.0Kg Approx
INSTALLATION NOTES
This model can be installed as ducted method only.
For Ducted Installation
House must have 4 inch diameter duct pipe ready for the unit to be tapped into
Using a smaller diameter pipe will reduce performance and void the warranty
IMPORTANT NOTE
This product is NOT to be used with high powered commercial (open type) gas burners as it will automatically void the warranty of the product.
60cm Telescopic / Semi Built-In Hood
Stainless Steel Fascia with White Underbody
Installation: Ducting Method Only
PRODUCT DETAILS
60cm Telescopic / Semi Built-In Hood
Stainless Steel Fascia with White Underbody
Motor: 270W max double motor
Suction Power: 440CMH max
Filters: 5 Layer Aluminum Filters (traps oil and grease)
Controls: Concealed Slider Switch Controls
Lights: 2x3W Extra Bright LED Lights
TECHNICAL SPECS
Power: 220-240V, 60Hz, 1.2A
Plug Type: Type A (2 flat pins)
Unit Dimensions (WxDxH): 60 x 28-45 x 17.5cm
Unit Weight: 9.0Kg
Packaging Dimensions (WxDxH): 66.5 x 35.5 x 22.5cm
Packaging Weight: 10.0Kg Approx
INSTALLATION NOTES
This model can be installed as ducted method only.
For Ducted Installation
House must have 4 inch diameter duct pipe ready for the unit to be tapped into
Using a smaller diameter pipe will reduce performance and void the warranty
IMPORTANT NOTE
This product is NOT to be used with high powered commercial (open type) gas burners as it will automatically void the warranty of the product.
Sold out
|
Buy it now
|
Buy it now

|
Buy it now

|
Buy it now

|
Download now

|